Importing to Unity
-
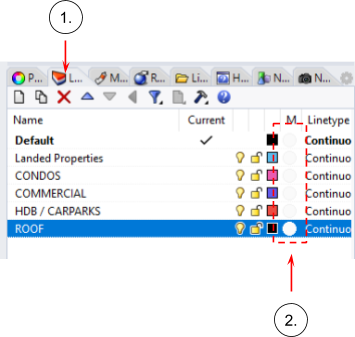
Within the Rhino window, go to the right toolbar and ensure you are under the LAYER tab
-
For each of your layer, click on the faint circle, marked in the image
-
Assign the desired texture for all the geometries within each layer
-
Once all applied, type SelAll and press enter onto the command bar in the Rhino window
-
Type Export and select .fbx for the file type and save under your desired name

-
Ensure the export settings are the same as the image below

-
Open the Unity project that consists of your main model
-
Drag and drop the folder that consists of all of your photoshopped textures into the asset section
Note: This step is crucial and skipping it will break the import process from Rhino
-
Drag and drop your new .fbx file into the asset section
-
Drag and drop the new imported prefab into the main game window
-
Congratulations you are have successfully generated the context model of your environment
-
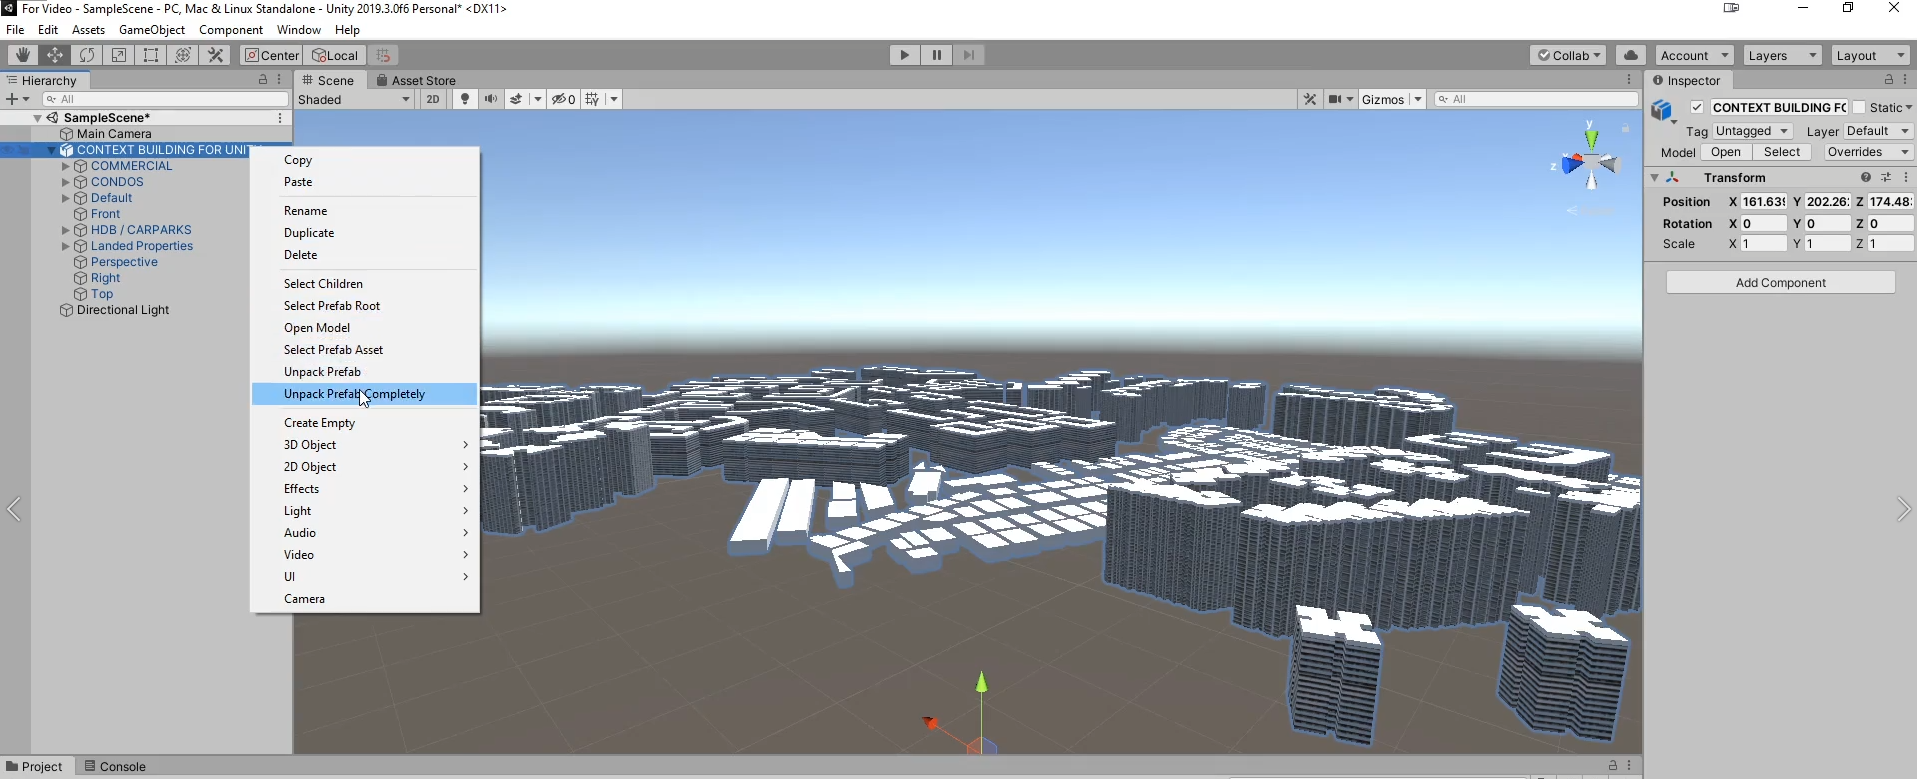
Right click on the prefab that you have just imported from the asset manager window on the left and select Unpack Prefab completely
-
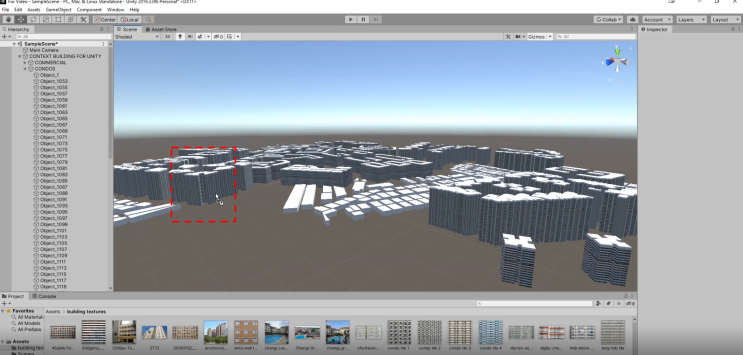
Open up the texture folder
-
Drag and drop the texture you want onto the geometry that you wish to modify - if done correctly, only the particular geometry you’ve dragged to will have its texture changed.

-
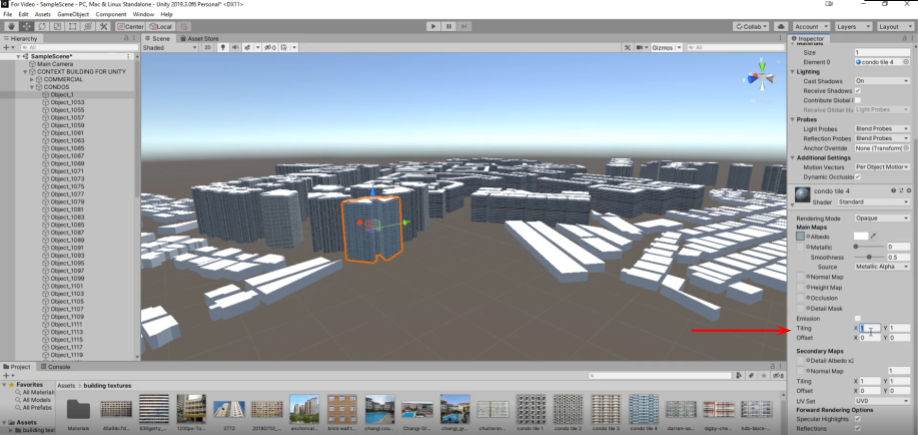
To edit the texture mapping scaling, select the geometry and look to the window on the right

-
Expand the material options by clicking on the triangle
-
Scroll to Tiling and enter a value: >1 will scale the texture up and <1 will scale the texture down
If you wish to change the textures or the texture mappings of individual geometries in Unity:
- New Updates Here