Carpark Simulation
-
Before you start this, make sure that you have located the carpark you want to simulate, and the vehicle’s last movement is to reach the carpark, with a trigger to change the state to Carpark state.
-
Drag the LotObject Prefab from Assets > Vehicle Simulation > CarparkDriving. Align it such that the taller cube is facing the front of the lot.

-
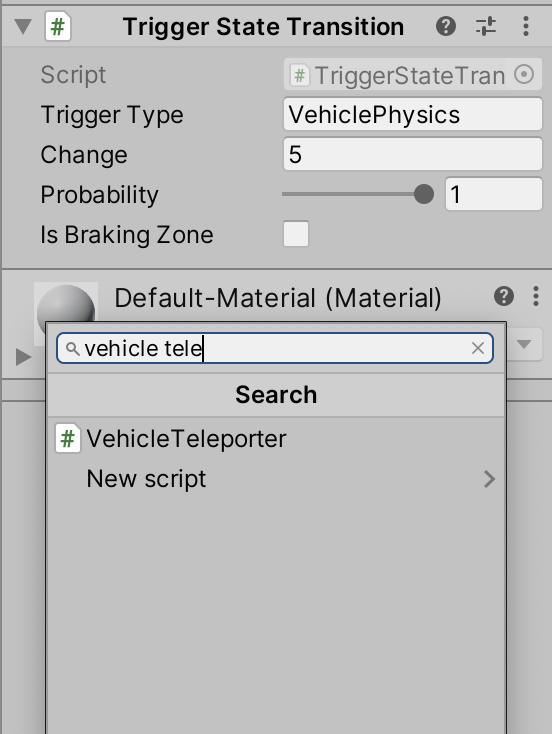
Change the Change value under Trigger State Transition in the LotObject > PermissibleBounds to the same state value as the “Parked” state in your Animator State Model.

-
Duplicate for all the carpark lots, and group them under an empty GameObject. Name them something intuitive like CarparkObjects

-
Create another box collider (similar to a trigger), and place it at the entrance of the carpark you want to simulate. Make sure you place it a little behind the trigger object (the one that switches the state to Carpark).
-
Add the component Teleporter to the box collider object.
-
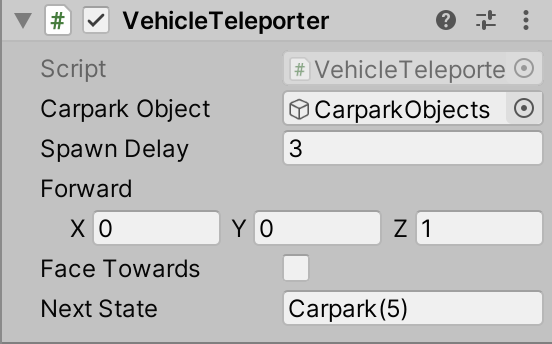
Fill up the Teleporter with the following parameters:
- Carpark Object: The group of LotObject you placed in step 3
- Spawn Delay: Random time taken for the car to appear parked
- Next State: Copy the next state label from the State Machine Animator
- Others: Leave the Towards unchecked.
-
Done! Your carpark simulator should be running smoothly now
- New Updates Here